
See the full detailed instructions here:
https://trailicon.com/pages/installation-instructions
If you're looking to upgrade your Can Am Defender with a functional and versatile and arm rest, the Can Am Defender Adjustable Console from TRAIL ICON is an excellent choice. This comprehensive guide will walk you through the entire installation process, from understanding the hardware and tools to mounting the console securely. Whether you're a seasoned installer or a first-timer, this article provides everything you need to know to get your adjustable center console installed with confidence and ease.
Understanding the Manual Rivnut Tool and Hardware
One of the key components in installing the Can Am Defender Adjustable Console is the manual rivnut tool. Designed specifically to install rivet nuts or jack nuts, this tool is integral to creating strong, secure attachment points on your vehicle.
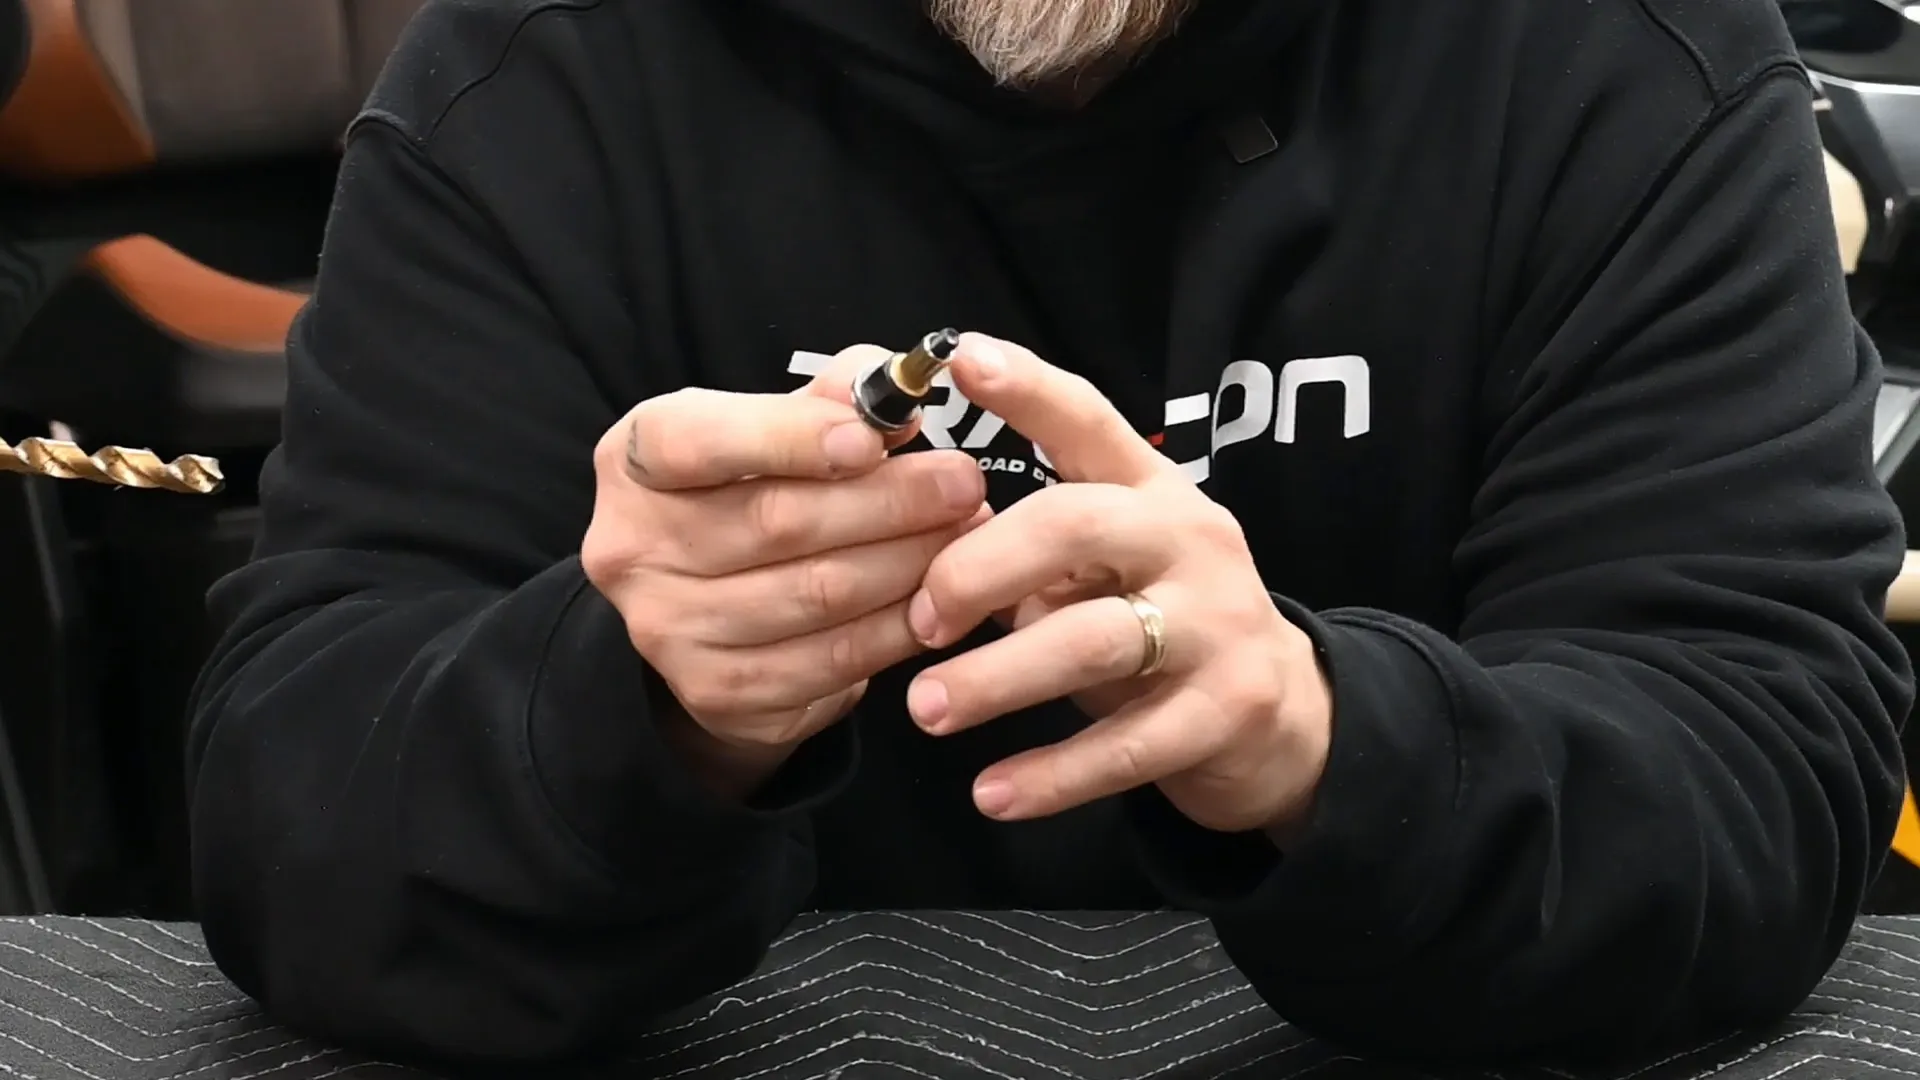
Inside your kit, you'll find black hardware and if added to your order the Rivnut tool. There is a Rivet Nut on the end of the tool that is a placeholder to keep the tool intact and can also serve as a spare rivet nut if needed.
The assembly of the rivnut tool is cleverly designed for efficiency. It consists of an M6 screw, washers on either side of a flat bearing, and a free-floating nut. This free-floating nut is essential for the tool's operation, allowing the screw to pull in tightly while the nut remains free-floating to hold everything in place during installation.
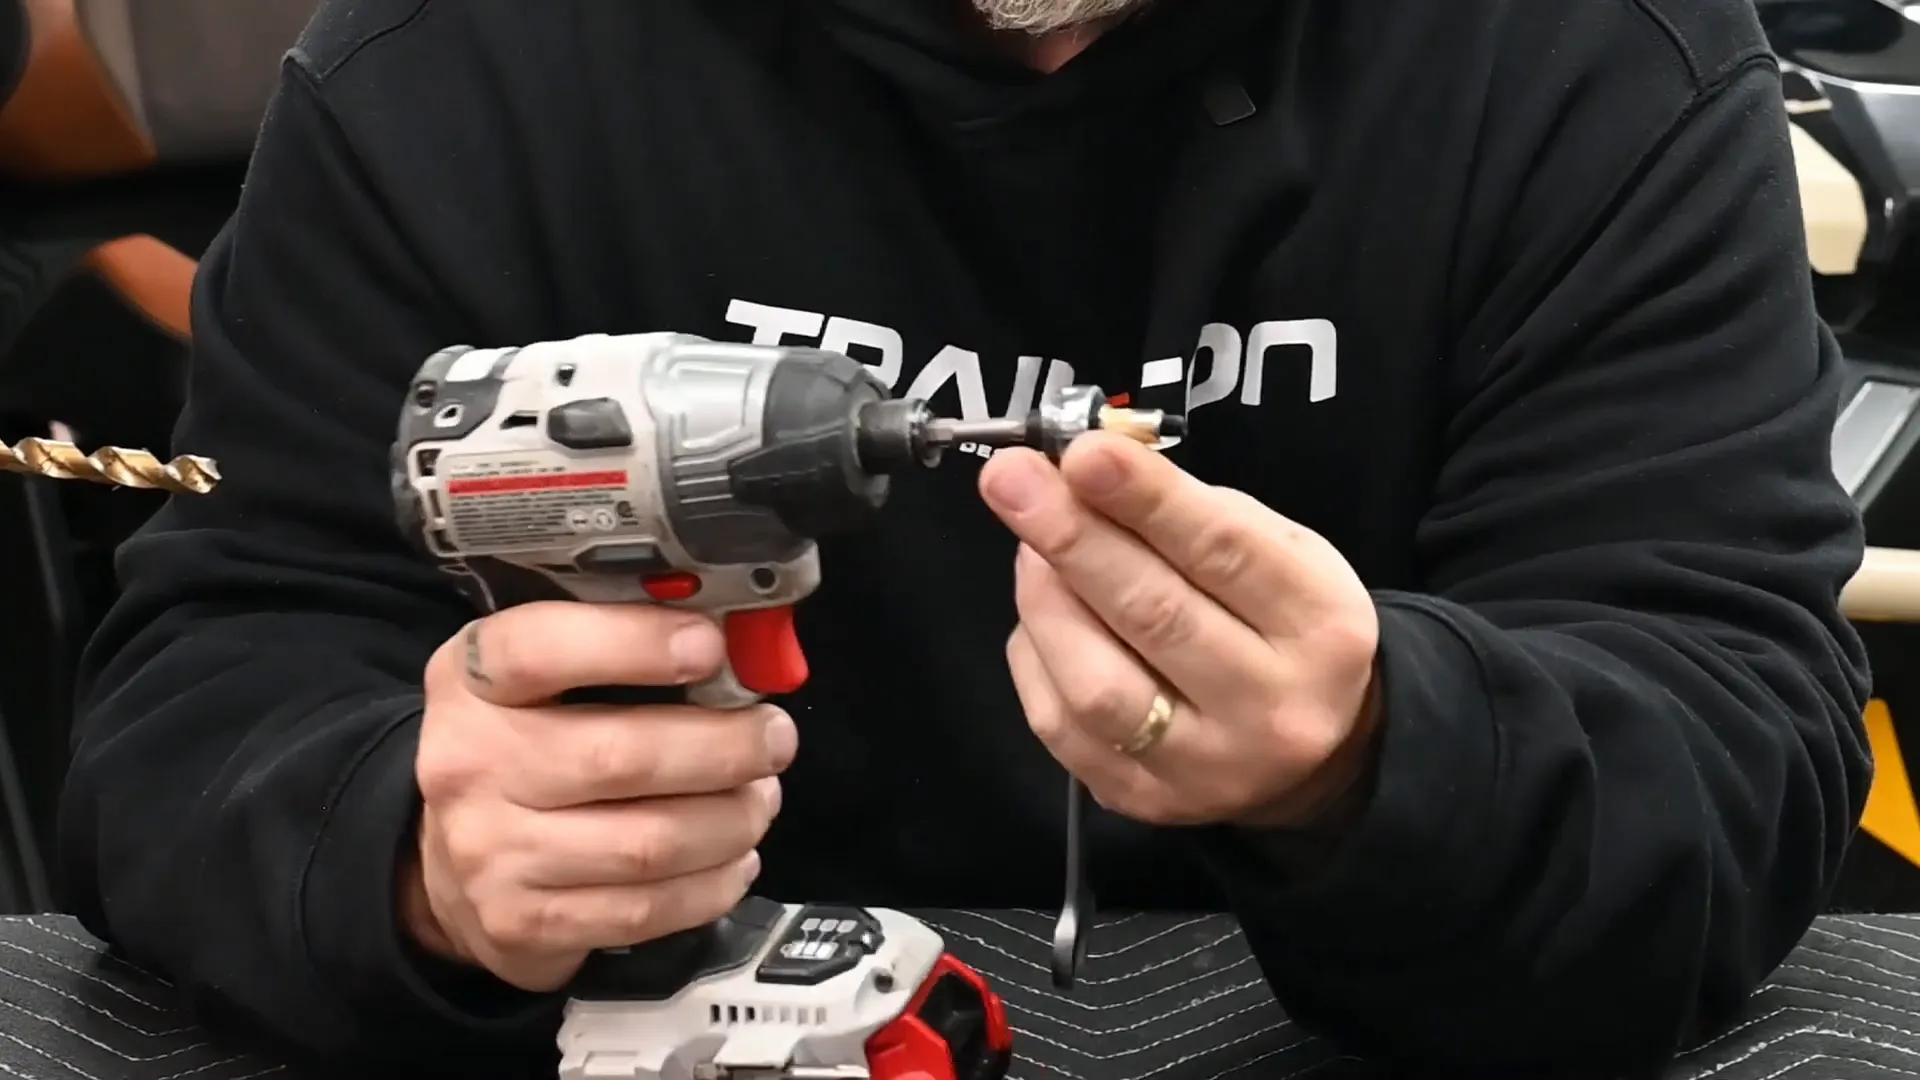
When installing rivet nuts into pre-drilled holes, the process is straightforward. You'll use a 5mm hex key attached to your drill, combined with a 14mm wrench to hold the tool assembly. Insert the rivet nut into the hole, ensuring the flange presses firmly against the material to prevent spinning. Applying steady pressure, run the drill to crimp the rivet nut securely. Reversing the drill removes the tool assembly, leaving the rivet nut tightly fastened in place.
This crimping action presses the flanged side of the rivet nut up against the material, creating a strong bond between the two surfaces. This method is the same when working with jack nuts, which are commonly used in other TRAIL ICON products, including the console itself.
The jack nut provides a larger bite on plastic surfaces, preventing pull-through and ensuring a secure hold.
Don't worry about forcing the rivet or jack nuts; they crimp quite easily. If you notice any spinning after installation, simply run the tool back in and torque it down gently for a solid connection. Just be careful not to overtighten and strip the threads.
Choosing the Right Drill Bits
Drill bit size is crucial for a proper fit of the rivet and jack nuts. TRAIL ICON recommends using a 23/64" drill bit for rivet nuts and a 27/64" bit for jack nuts. These sizes provide the best bite for the inserts, balancing ease of insertion and secure fit.
Using calipers, the rivet nut measures approximately 11/32". The 27/64" drill bit is just slightly larger, making it easier to insert the jack nut without damaging the hole. The 23/64" bit is perfect for rivet nuts, especially since its knurled edge helps accommodate any burrs on the hole edges.
If you don’t have these specific drill bits, don’t worry. You can match your existing drill bits to the hardware by placing the drill bit against the non-flanged side of the rivet nut. The bit should be the same size or just slightly larger. Avoid drilling holes that are too large, which can reduce the material grip, or too small, which can make insertion difficult and damage the hole.
Preparing the Console for Installation
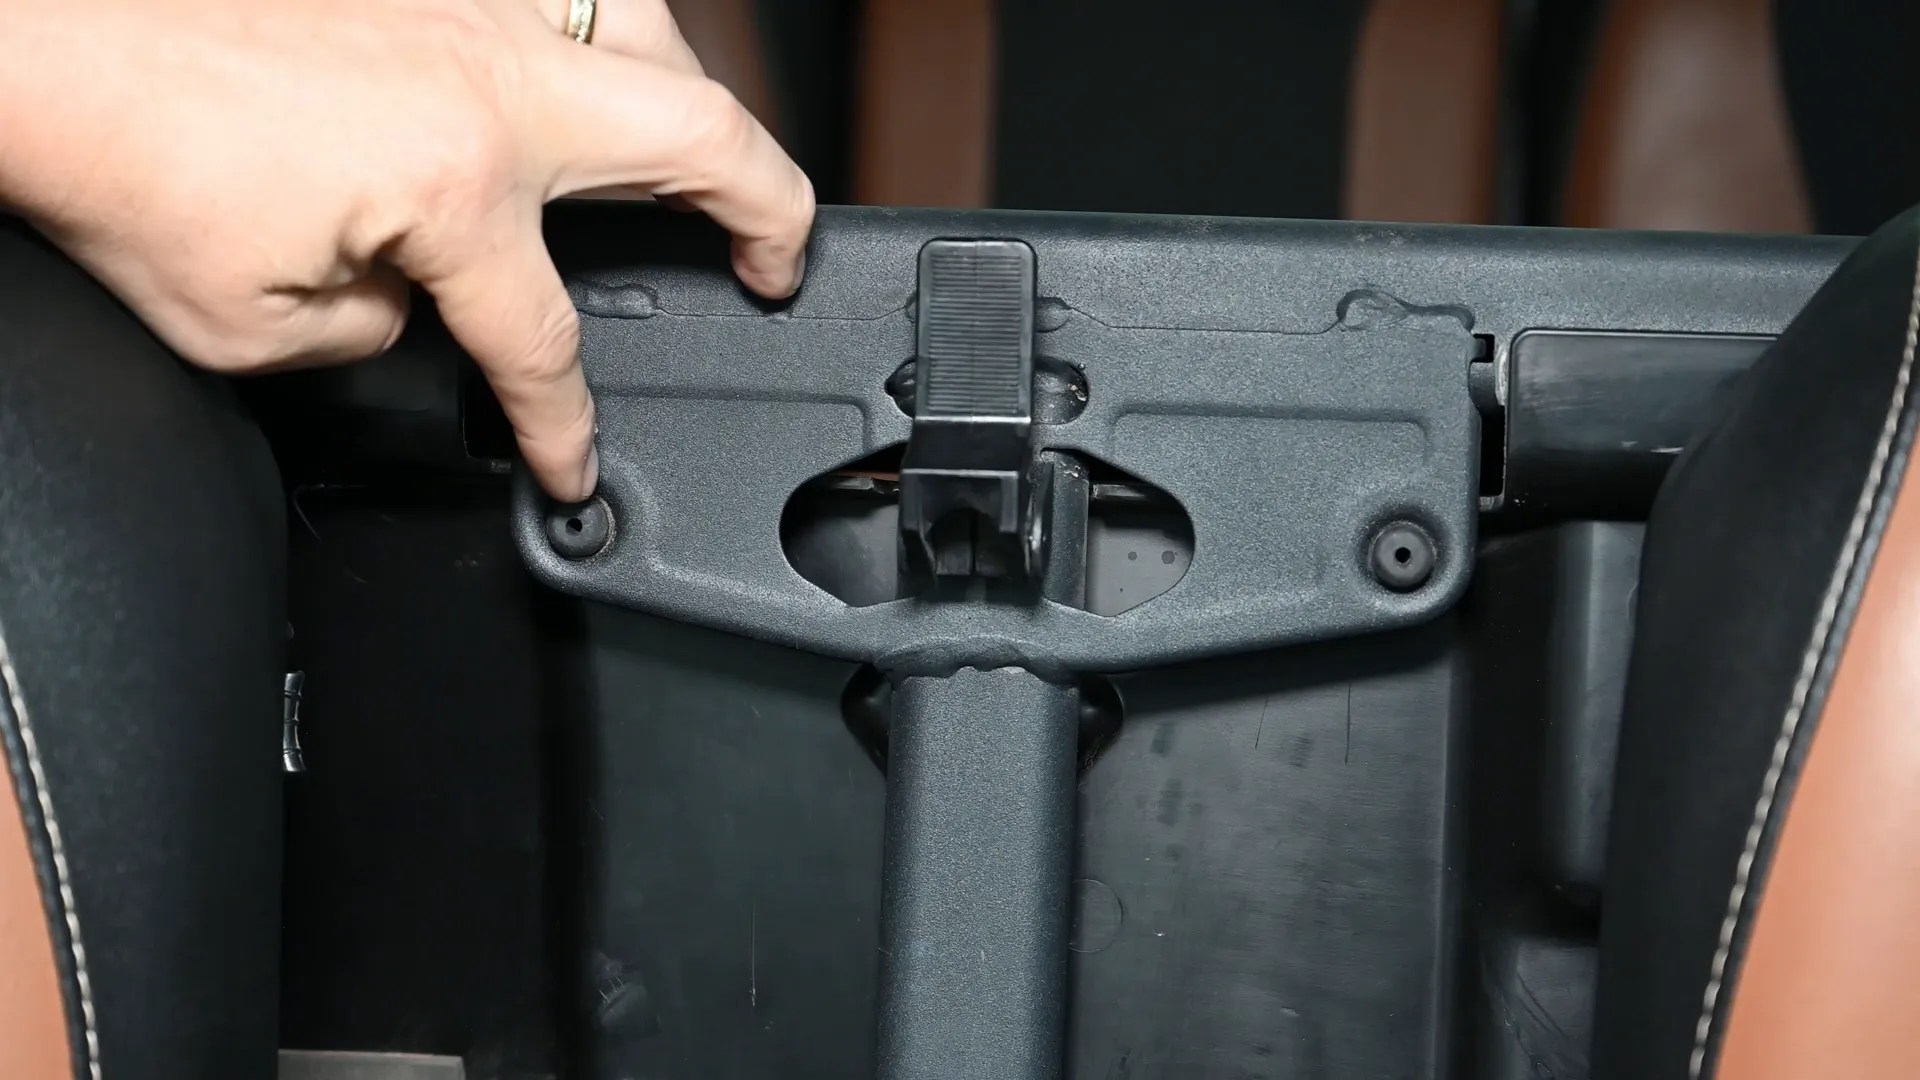
With your tools and hardware ready, it’s time to start preparing your console for installation. Begin by dropping down the console and removing the rubber bushings. These bushings can be pried out gently using a small flathead screwdriver and set aside carefully.
Next, remove the factory center latch hold by prying open the tabs with the screwdriver. Keep this latch in case you want to revert the console to its original factory setup in the future.
Now, bend the two tabs on the console into the relief area designed for them. You can use a crescent wrench or a soft-faced mallet to bend these tabs easily. These tabs need to be bent out of the way to make room for the new hardware and arms.
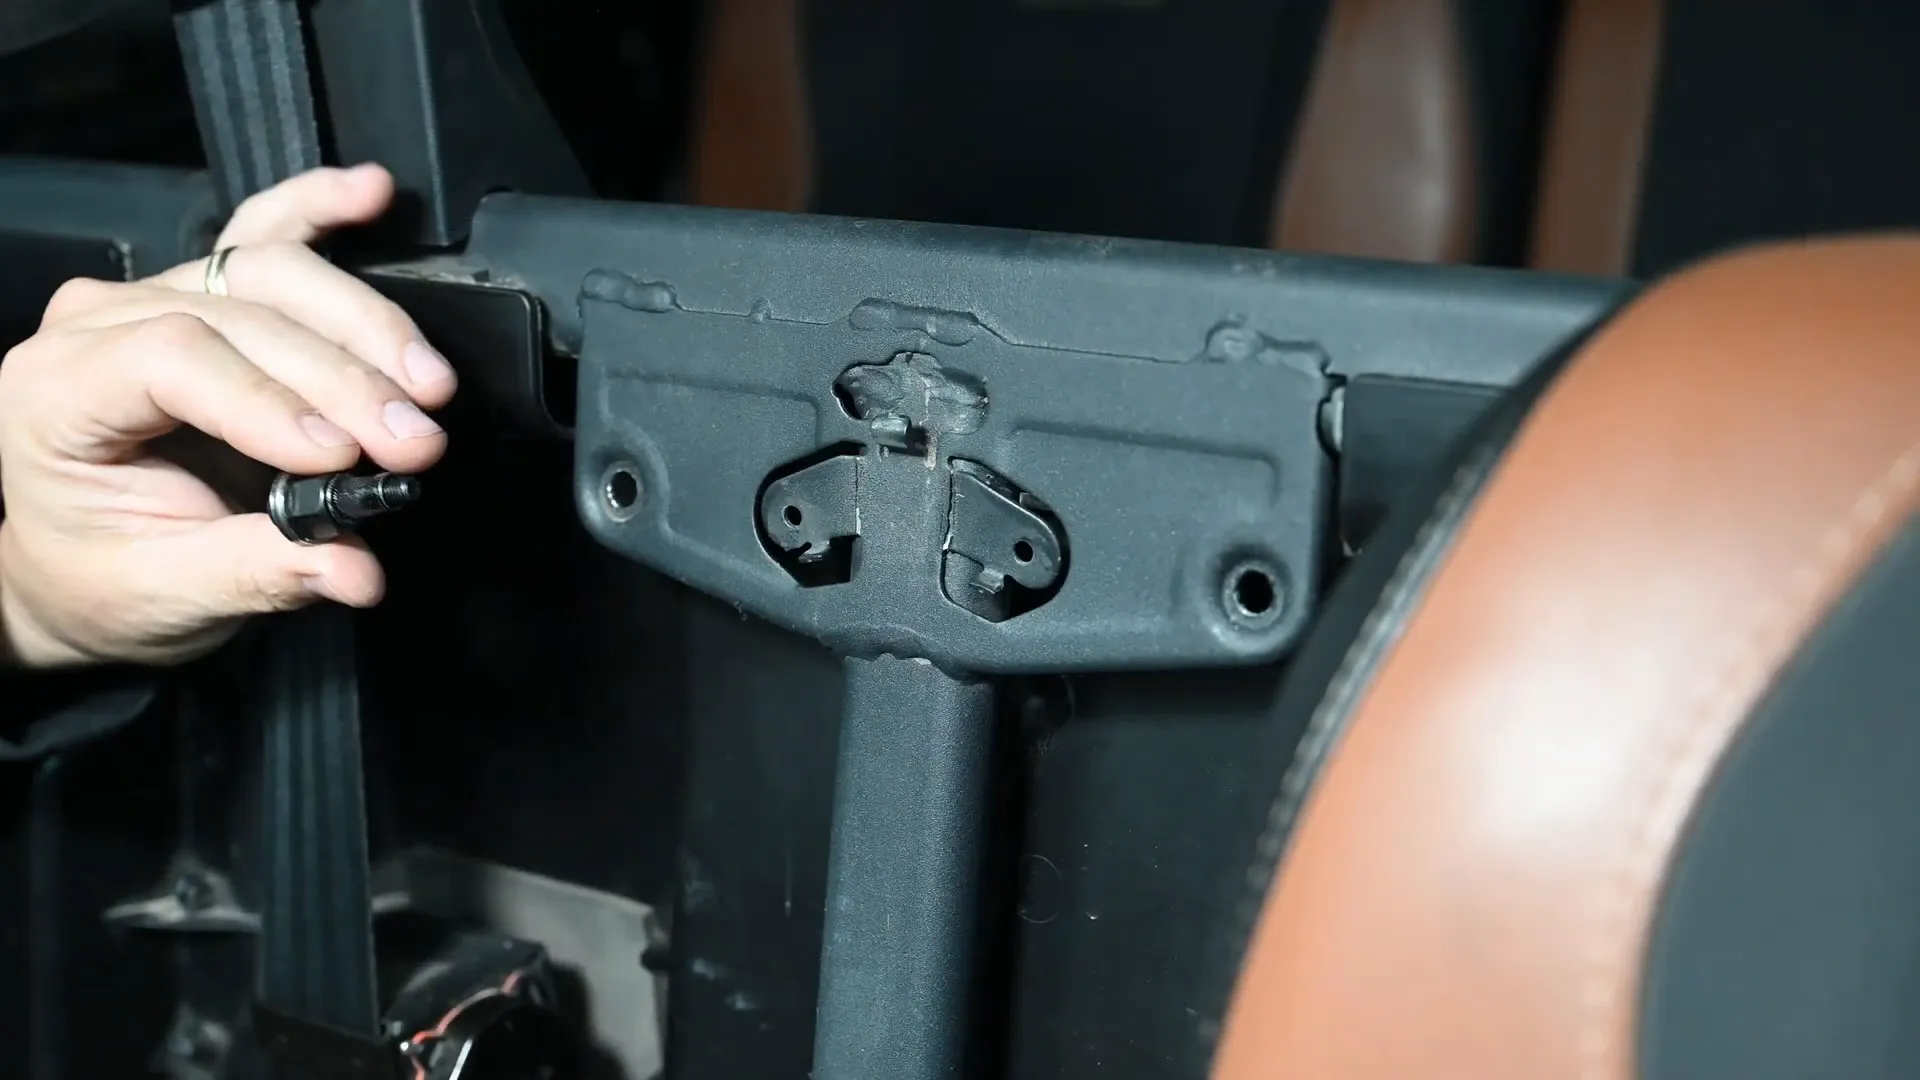
Below the console, there are two cotter pins and a pin passing through a plastic piece. Remove these pins to free the console completely. Set the console aside while you prepare the mounting area.
For the outer tabs on the console, you can bend them either outward or inward depending on your preference. They bend easily by hand or with a soft-faced mallet. There’s no right or wrong way here, but bending them out of the way ensures they don’t interfere with the new installation.
Drilling and Installing Rivet Nuts on the MOLLE Panel
With the console prepped, it’s time to focus on the MOLLE panel installation. Start by drilling two holes at the top of the panel using the 23/64" drill bit. Once these holes are drilled, insert rivet nuts into the holes using the rivnut tool.
Temporary mounting of the MOLLE panel is essential to mark the lower holes accurately. Flip the panel so the flanged sides face outward; this ensures the panel sits flat against the lower bar and provides precise hole markings.
You can mark the lower holes either by using a Sharpie or a metal punch through the holes on the MOLLE panel. Thread two 45mm bolts through the top holes to temporarily secure the panel while marking.
After marking the lower holes, remove the panel and drill the two lower holes using the same 23/64" drill bit. Then, install rivet nuts in these lower holes just like you did for the top two.

Finalizing MOLLE Panel Installation
Now it’s time to mount the MOLLE panel securely. Start by threading a fender washer onto each bolt and inserting it through the front side of the panel. On the back, add a one-inch washer before threading the bolt into the rivet nut. Use a 4mm hex key to start threading, but leave it slightly loose initially to allow for adjustments.
Work your way around the panel, installing washers and bolts on all mounting points. There’s no specific sequence required, so choose the order that feels most comfortable. Once all bolts are in place, check the alignment to ensure the panel is level and positioned correctly. Then, tighten all bolts firmly.
Installing Arms onto the Console
With the MOLLE panel in place, it’s time to install the arms onto the console. The arm hardware includes:
- Two 65mm bolts
- Two M6 nuts
- Two half-inch aluminum spacers
- Four jack nuts
- Four M6 20mm bolts
- Four fender washers
Place the console on a flat surface. The arms are marked for driver and passenger sides with the TRAIL ICON logo, so ensure the logo reads correctly for each side.
Start with the passenger arm. Thread a 65mm bolt with a fender washer through the back hole of the arm, then add a half-inch aluminum spacer. Feed this assembly through the console bracket and secure it temporarily with an M6 nut. Snug it down firmly to keep the arm stable while marking the bolt hole locations.
Repeat the process for the driver side arm.
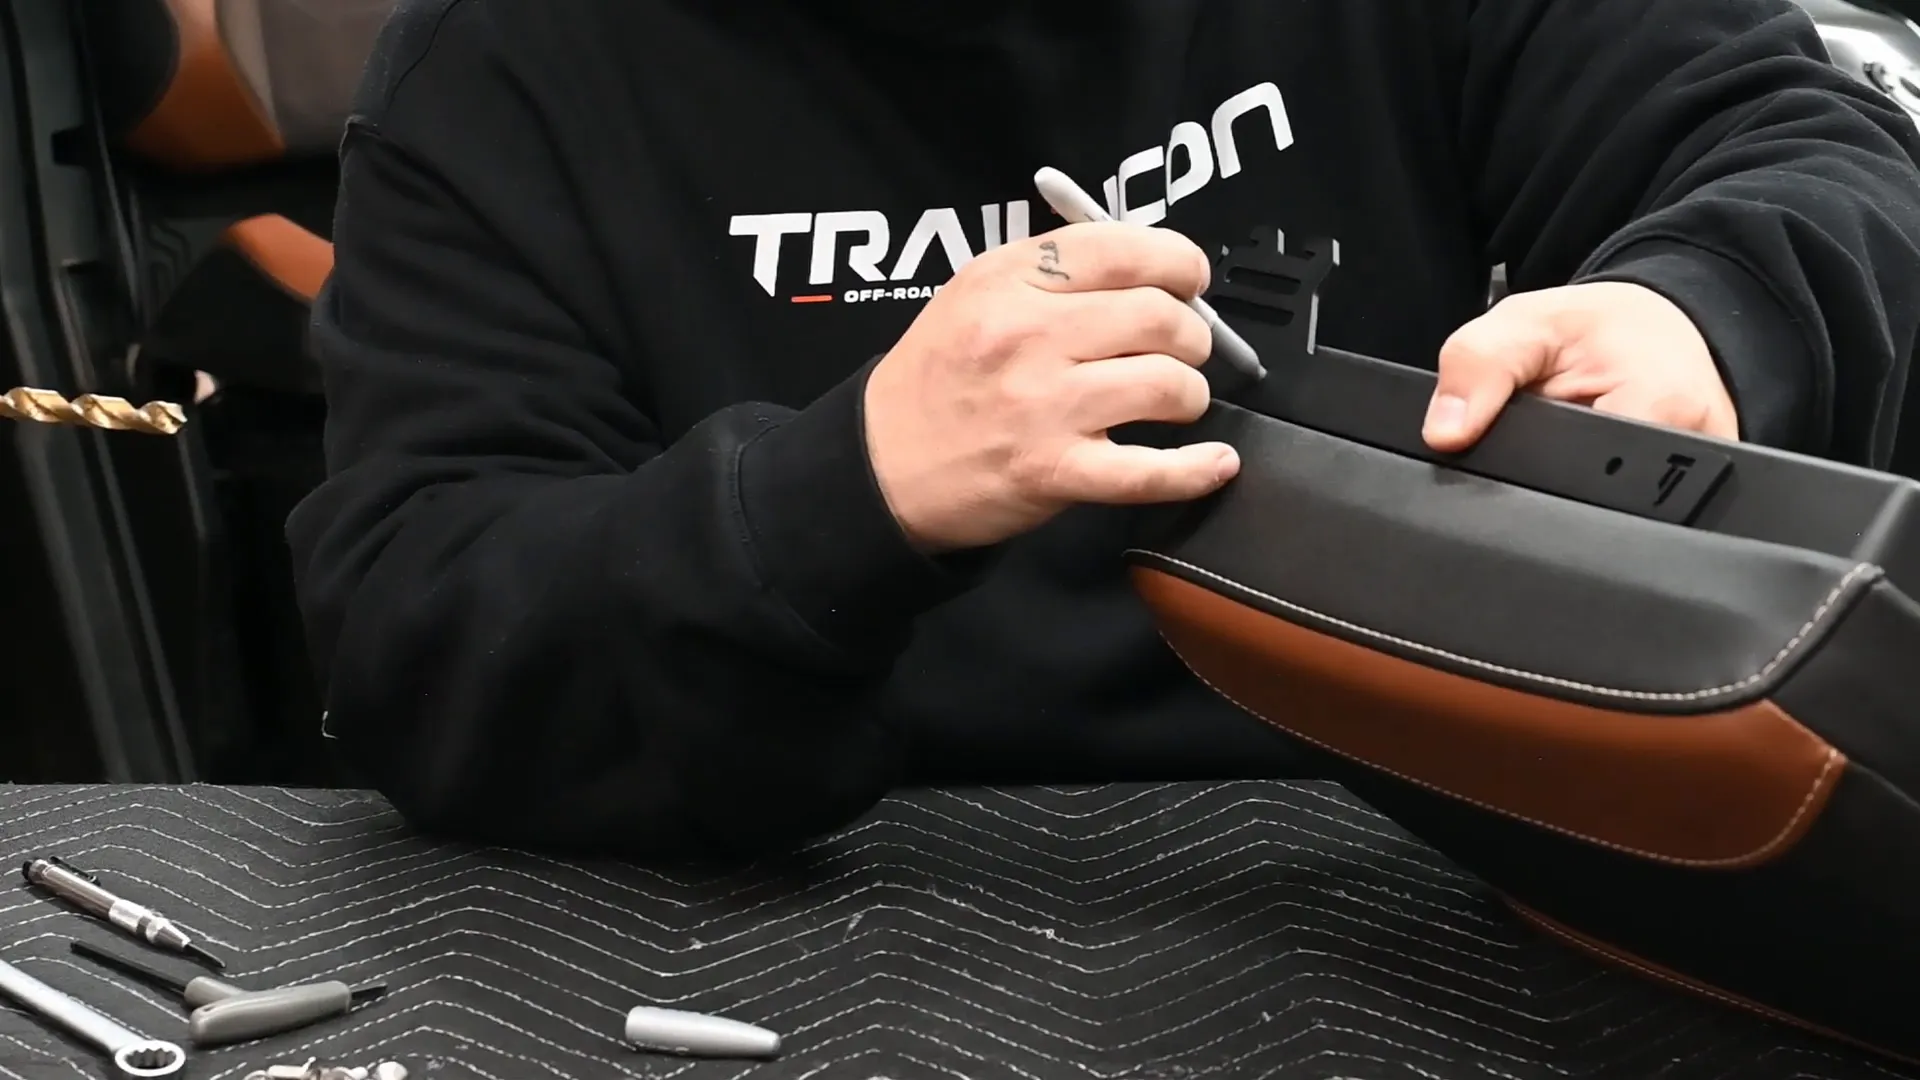
Once both arms are loosely installed, check their alignment along the top edge of the console for an even reveal. This is mostly for aesthetics and doesn't affect functionality. When satisfied with the alignment, use a silver Sharpie to mark the hole centers on both sides through the mounting holes.
You can either remove the arms or fold them out of the way to drill the marked holes. Use a 27/64" drill bit or the comparable size to drill the holes for jack nut installation.
Installing Jack Nuts and Final Assembly
Install the jack nuts carefully, ensuring they have a solid connection to the base of the nut. This initial connection is crucial for a secure fit when tightening down the bolts. Go slow and feel the jack nuts bite into place to avoid spinning or damage.
Once all jack nuts are installed, lower the arms back into position. Insert the 20mm bolts with fender washers through the arms and into the jack nuts. Use a 4mm hex key to tighten everything down securely.
Finally, tighten the back nuts and bolts using a 10mm wrench and the 4mm hex key. Be careful not to overtighten, as these fasteners allow for slight adjustment to fine-tune the fit between the console arms and the MOLLE panel. Proper adjustment helps eliminate any binding or misalignment during installation.

Tips for Using the Adjustable Center Console
With the installation complete, here are some helpful tips to get the best use out of your adjustable center console:
- To lock the console into the MOLLE panel, tilt it down slightly, then lift it up to key it in place securely.
- The same technique applies when flipping the console over—tilt down slightly, lift, and it will lock firmly.
- When accessing the rider position, tilt the console out slightly and lift to lock it down.
These simple motions ensure smooth operation and a secure fit during use.
Conclusion
Installing the Can Am Defender Adjustable Console is a straightforward process that significantly enhances your vehicle's utility and storage capacity. Understanding the rivnut tool, selecting the right drill bits, and carefully following the steps for mounting the MOLLE panel and console arms will ensure a strong, professional installation.
With a few simple adjustments and tips, your new center console will provide reliable, adjustable storage for all your trail adventures. If you have any questions or need additional assistance, don’t hesitate to reach out to TRAIL ICON’s support team via phone or email.
Now its time to hit the trails and enjoy your upgraded Console in your Can Am Defender and make every ride iconic with the TRAIL ICON Adjustable Center Console!

Share: